
If you’ve ever turned on your ultrasound machine and felt unsure where to start, you’re definitely not alone. Whether you’re brand new or coming back to scanning after some time away, it’s easy to feel overwhelmed by all the controls.
The good news is you don’t need to master everything at once. In fact, focusing on just three key settings can dramatically improve your images right away and help you feel more in control.
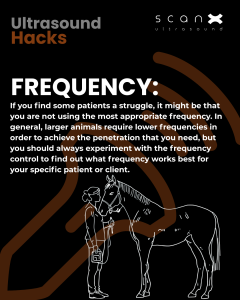
Frequency plays a huge role in how clear and detailed your images appear.
Here’s the simple way to think about it:
Your choice should depend on the size of the animal:
If you take a moment to consider this before you start scanning, you’ll set yourself up for much better results from the beginning.
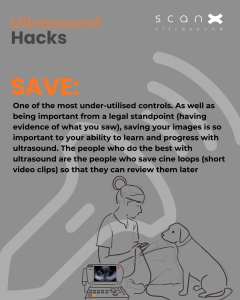
One of the most overlooked features on any ultrasound machine is the Save function, but it can make a huge difference in how quickly you improve.
Saving still images and cine loops (short video clips) allows you to:
The people who improve the fastest aren’t just scanning more, they’re taking the time to review their work. Even saving a few key clips during each session can really accelerate your learning.
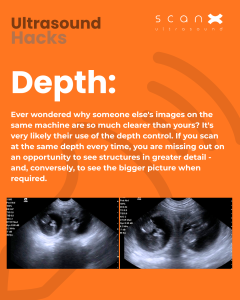
Depth controls how much of the body you can see on your screen, similar to zooming in and out on a camera.
You can use it to:
For example, you might zoom in to examine a specific structure, then zoom out again to see how it fits within the surrounding anatomy.
You’ll likely adjust depth throughout your scan, so getting comfortable with it early will make everything feel smoother and more intuitive.
No matter your experience level, you don’t have to figure this out on your own. Some people come to ScanX Ultrasound with years of scanning experience and just want to fine-tune their images, while others are starting from the very beginning. Both are equally supported.
If you’re new to ultrasound, we always recommend reaching out before purchasing a machine. A quick conversation can save you time, money, and frustration by helping you choose the right setup for your needs. The team at ScanX Ultrasound is always happy to walk you through your options and answer any questions, with no pressure.
It’s easy to think you need the perfect case to get started, but that’s not true. Some of the best practice comes from simply getting comfortable with your machine in a low-pressure setting.
Use a calm, cooperative animal and take time to explore. Adjust your settings, test different depths and frequencies, and see how the image changes. The more you practice, the more confident you’ll become, and soon things that felt confusing will start to click.
If things still aren’t making sense, that’s completely normal. Ultrasound takes time to learn, and a little guidance can go a long way.
If you ever feel stuck, don’t hesitate to reach out to ScanX Ultrasound. We’re always happy to help, whether that’s answering a quick question or guiding you through what you’re seeing on screen. Sometimes a short conversation is all it takes to get you moving forward again with confidence.